
Deploying a Private Git Server with Soft-Serve
Intro
I use Logseq as an open-source notes app across all my devices. Historically, I haven’t worried about syncing data between the devices. I keep my tech stuff on my personal computer, my work stuff on my work computer, and my shopping lists on my phone.
However, I generally have a rule against storing anything important to me on just a single device. If I lose my laptop, it shouldn’t be a big deal to get back to full productivity on a new one.
Notes were a miss though. While I’ve reinstalled my system a few times, I always just upload an export to Proton Drive and then re-import.
This guide follows the path I took trying to ensure my notes were automatically backed up and synced securely.
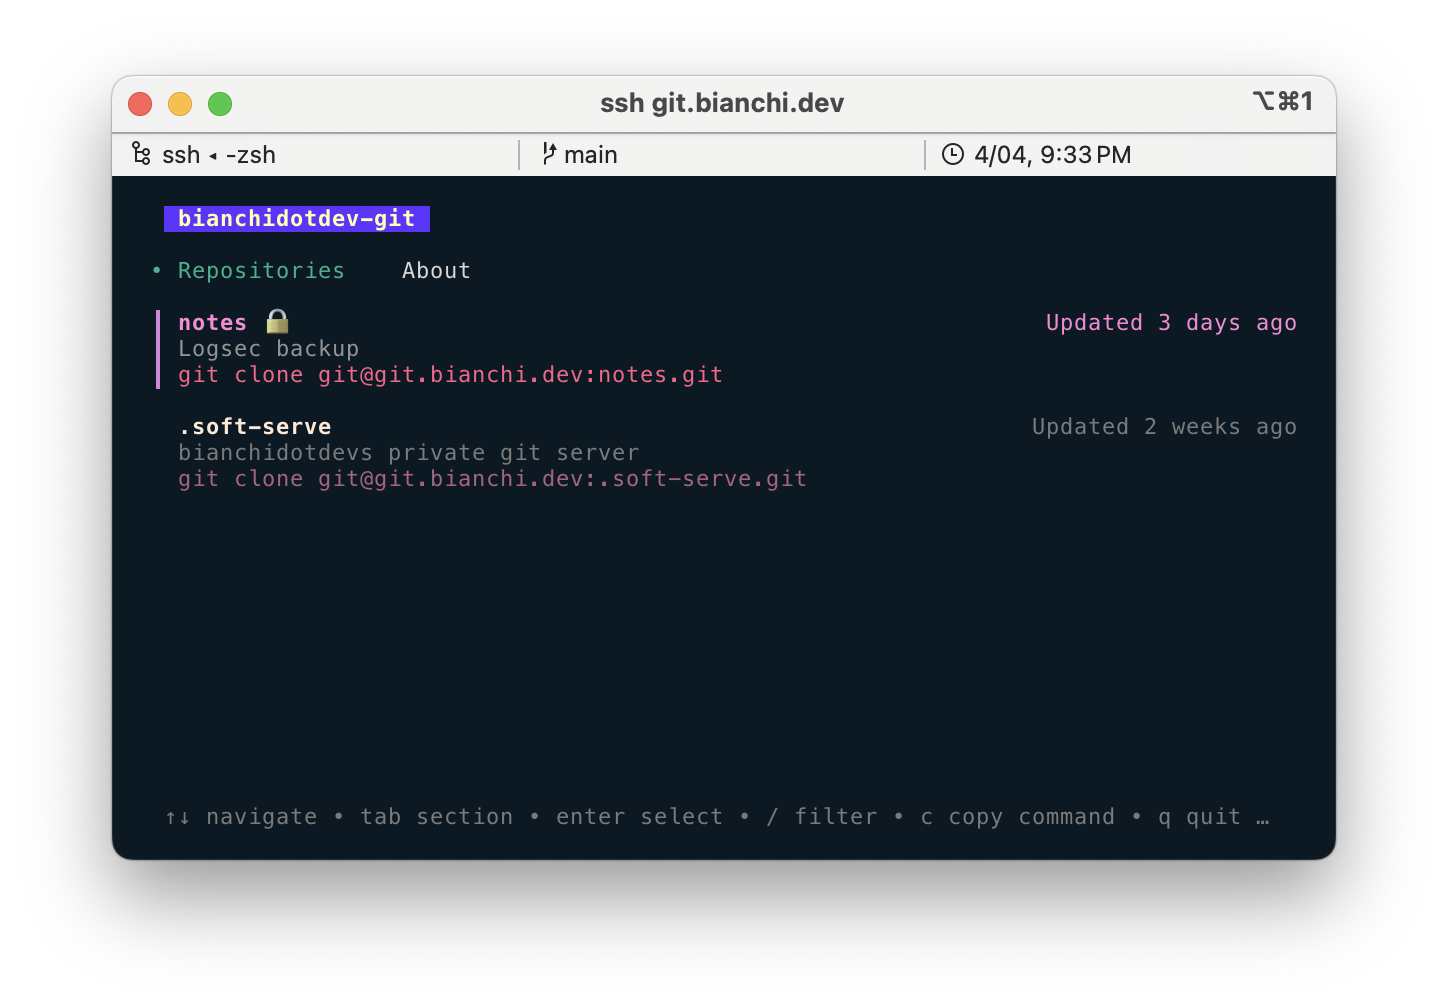
This repo uses soft-serve as a primarily ssh-driven self-hostable git server.
Getting Started
The following steps walk through configuring the git server through environment variables, authenticating to fly.io and deploying the git server using the official, public Docker image.
Prerequisites:
gitinstalled- A fly.io account
flyctlinstalled
Steps:
- Clone or fork the repo bianchidotdev/git
- Update the following in
fly.toml- app name - whatever you want your app to be called in Fly
- primary_region - wherever is closest to where you’ll be using it (or keep it as
ord) - SOFT_SERVE_NAME - the name of your new git app
- SOFT_SERVE_INITIAL_ADMIN_KEYS = your ssh public key
- SOFT_SERVE_SSH_PUBLIC_URL - the domain you want this hosted under - can be a custom domain or
ssh://<fly-app-name>.fly.dev - SOFT_SERVE_HTTP_PUBLIC_URL - same as above but with https
https://<fly-app-name>.fly.dev
- Run the following commands:
# login to fly with your CLI session
fly auth login
# deploy the app
fly launch
# copy the configuration and optionally tune the fly settings
# allocate a dedicate ipv4 address (this is necessary for raw TCP connections to function correctly on fly.io!) - if you miss this, you can always assign an ipv4 address with `fly ip allocate-v4`
# the output should end with something like the following:
# => Visit your newly deployed app at https://<fly-app-name>.fly.dev/
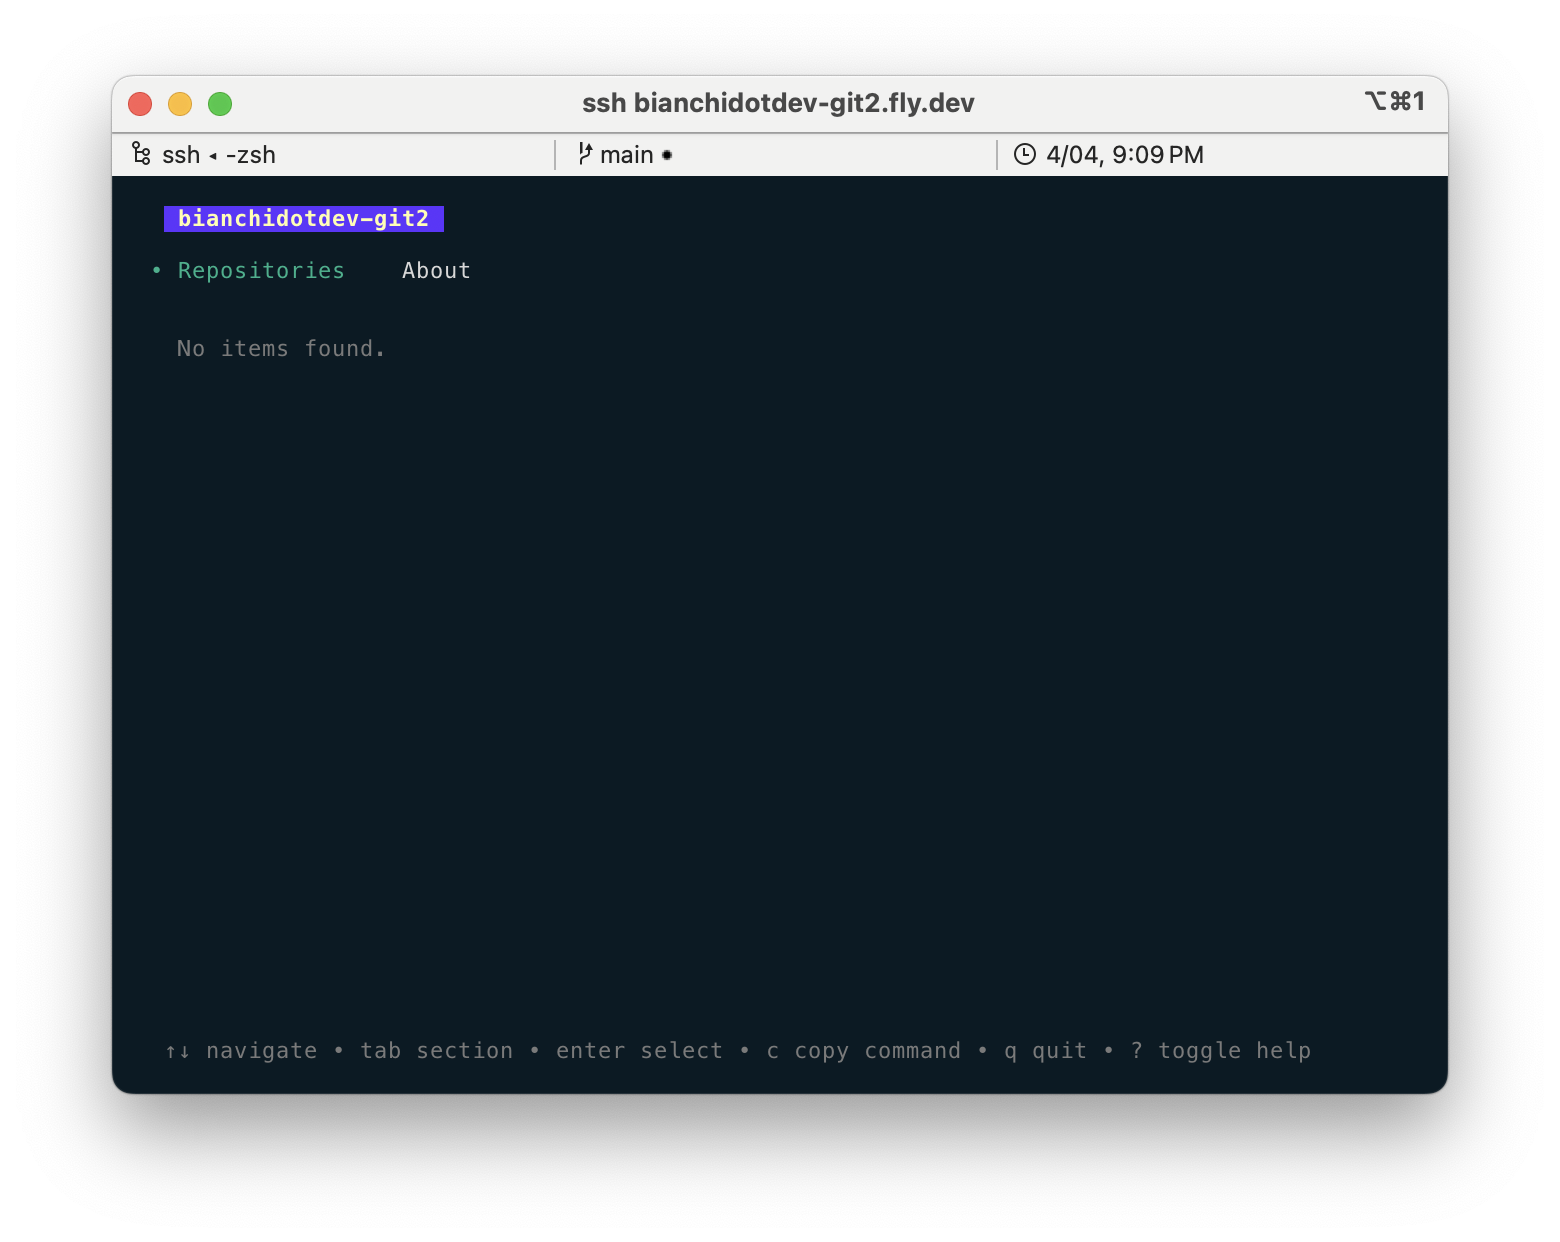
# you should now be able to ssh into the newly deployed instance
ssh <fly-app-name>.fly.dev
What that all did was deploy the soft-serve git server’s Docker image to a VM running in Fly.io’s infrastructure. Fly.io handles all the public load balancing, SSL termination, and guaranteeing your app is running even if the server running your app goes down.
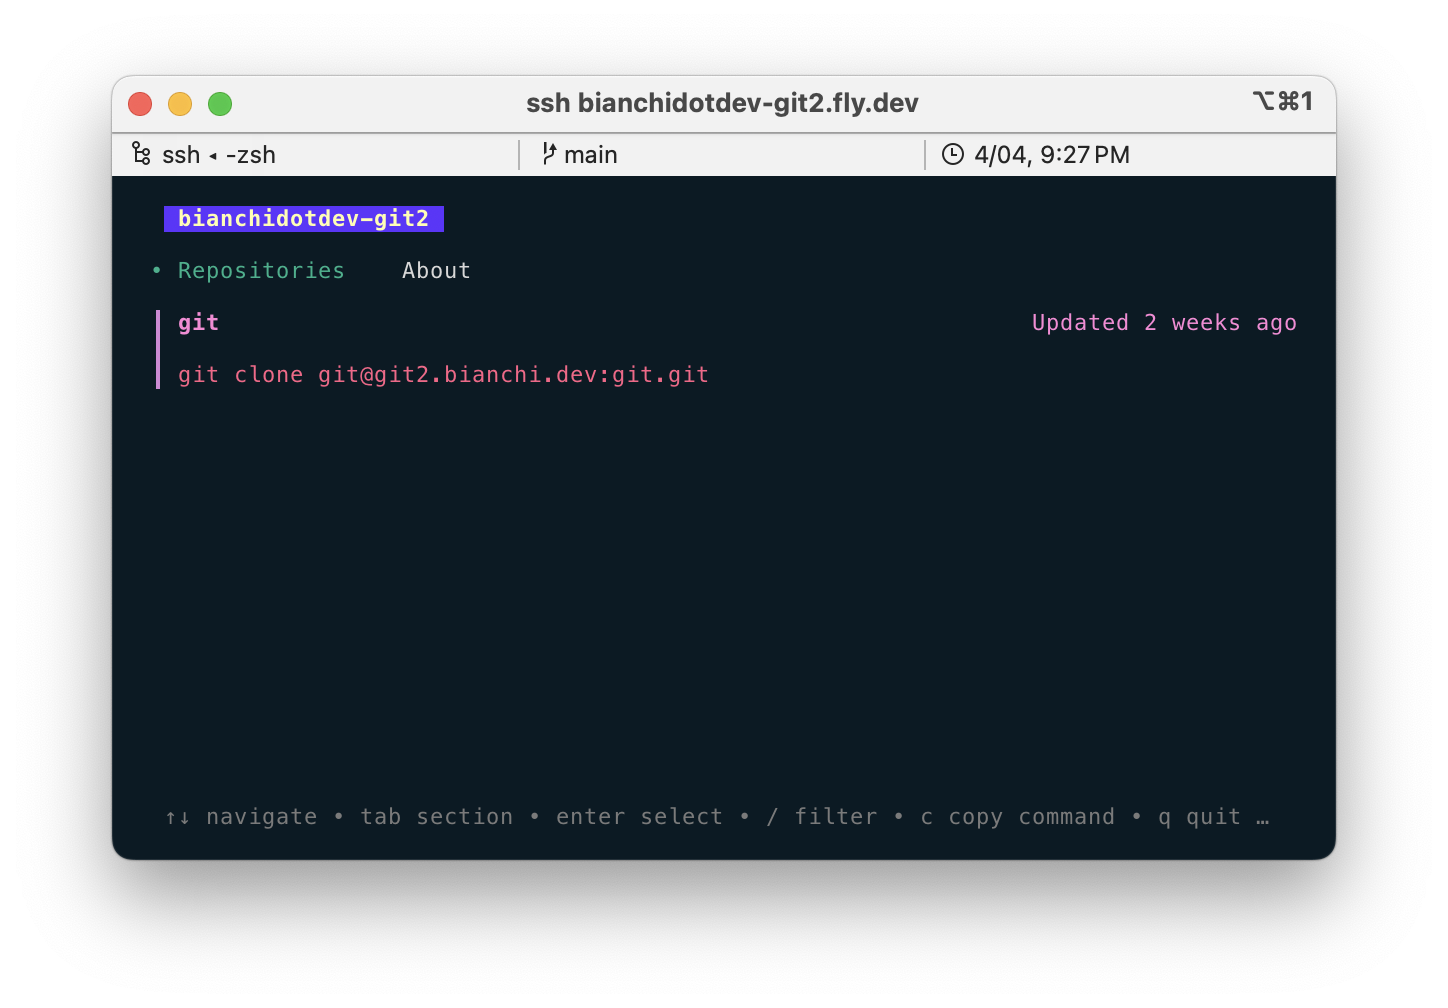
Test it out by creating importing a public repo:
ssh <fly-app-name>.fly.dev repo import git https://github.com/bianchidotdev/git.git

# or the soft-serve repo
ssh <fly-app-name>.fly.dev repo import git https://github.com/charmbracelet/soft-serve

# check out the git server now that it contains data!
ssh <fly-app-name>.fly.dev
And then clone it:
git clone <fly-app-name>.fly.dev:git.git
# =>  λ  git clone bianchidotdev-git2.fly.dev:git.git
# => Cloning into 'git'...
# => remote: Enumerating objects: 4, done.
# => remote: Counting objects: 100% (4/4), done.
# => remote: Compressing objects: 100% (4/4), done.
# => remote: Total 4 (delta 0), reused 4 (delta 0), pack-reused 0
# => Receiving objects: 100% (4/4), done.
Optionally go ahead and set up a custom domain. You can set it up by logging into fly.io, navigating to your app, and following the instructions under certificates.
There are also features such as marking specific repos as private, some level of access control to determine who can log in and see public repos, and more. Use ssh <fly-app-name>.fly.dev help to see docs on what’s possible.